This site is supported by our readers. We may earn a commission, at no cost to you, if you purchase through links.
 Creating DIY snake hide boxes is a practical way to make sure your slithery friends feel at home.
You can use everyday materials like cardboard, plastic containers, or pvc pipes to craft cozy retreats.
Want a natural vibe? Add coconut fiber or moss for a jungle look.
Remember, non-toxic adhesives and smooth edges are key—nobody likes a hide that bites back!
With various designs, from rock-like foam sculptures to desert-themed nooks, you can personalize a snake haven that suits their personality and habitat.
Up next, find out the secrets to combining style with snake safety in unforgettable DIY hideaways!
Table Of Contents
- Key Takeaways
- Essential Materials for DIY Snake Hide Boxes
- Simple DIY Snake Hide Box Techniques
- Creating Natural-Looking DIY Snake Hide Boxes
- PVC Pipe Snake Hide Box Designs
- Advanced DIY Snake Hide Box Projects
- Size Considerations for DIY Snake Hide Boxes
- Ensuring Safety in DIY Snake Hide Boxes
- Customizing DIY Snake Hide Boxes
- Budget-Friendly DIY Snake Hide Box Ideas
- Placement Strategies for DIY Snake Hide Boxes
- Frequently Asked Questions (FAQs)
- How do you hide a snake in a cardboard box?
- How to make a giant snake hide?
- How do you make a snake hide for a pet snake?
- How long does it take to make a snake hide?
- Are polymer clay hides safe for reptiles?
- How to seal DIY snake hides effectively?
- What are the best tools for shaping hides?
- Can tile pointing be used for snake hides?
- How to add natural features to hide boxes?
- Conclusion
Key Takeaways
- You’re about to become the Picasso of pet habitats! Whether it’s cardboard or PVC, everyday materials can transform into cozy snake hideaways that your slithery sidekick will love. Always check for sharp edges—no one wants a hide that bites back!
- Don’t forget the glue! Always use non-toxic adhesives and remember that a little bit of sealing magic goes a long way in making sure your snake’s new digs last. Let everything cure before moving in your scaly tenant.
- Think of your snake like Goldilocks—the hide can’t be too big or too small. It needs to be just right for your snake’s size and species. Whether they are tiny hatchlings needing a snug hug or larger serpents craving room to stretch out, size matters.
- Placement is like decorating your living room—find the perfect spot for their hide box that balances basking areas and cool retreats. Your snake deserves privacy with easy access. After all, even snakes enjoy a little peace and quiet in their cozy corners!
Essential Materials for DIY Snake Hide Boxes
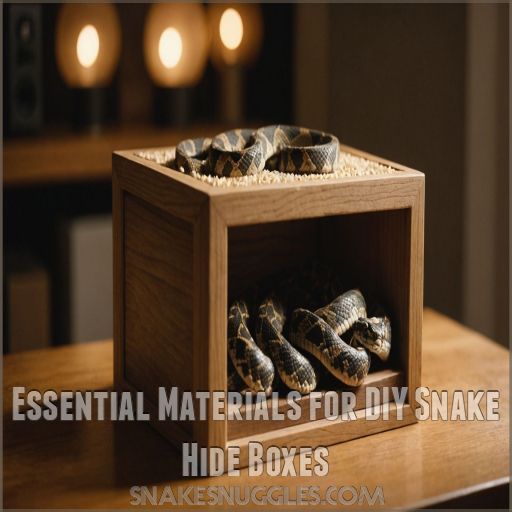
You’re about to start a reptilian DIY adventure, and choosing the right materials is key to creating the perfect snake hideaway.
From cardboard to PVC pipes, and spray foam to natural elements, we’ll explore the essential ingredients that’ll transform your snake’s habitat into a cozy retreat they’ll love to call home.
Cardboard and Paper-Based Materials
Crafting a cozy hideaway for your scaly friend doesn’t have to break the bank.
Cardboard and paper-based materials are the unsung heroes of DIY snake hides.
You’ll find a treasure trove of options right in your recycling bin: egg cartons, toilet paper rolls, and cardboard boxes .
These materials are easy to shape, safe when properly prepared, and can be transformed into natural-looking retreats.
Just remember to seal them for durability and replace them regularly.
Plastic Containers and PVC Pipes
While cardboard’s great, let’s slither into plastic and PVC! You’ll love how these materials can create durable, easy-to-clean hides for your scaly friend.
PVC pipes are a fan favorite – they’re like cozy tunnels for your snake .
And don’t toss those old plastic containers! With a bit of creativity, they can become the perfect reptile retreat. Just remember, smooth edges are key for your snake’s safety.
Spray Foam and Insulation Materials
You’ve got your plastic containers, but now it’s time to level up your snake hide game with spray foam.
This versatile material lets you sculpt custom shapes and textures .
It’s like building with clouds that solidify into rocky terrain!
Just remember, safety first – work in a well-ventilated area and let it fully cure before introducing it to your scaly friend’s home .
Natural Materials for Realistic Hides
You can create natural-looking snake hides by utilizing natural textures and color blending to mimic a real landscape, as seen in bark and wood-textured hides. Natural materials can transform your DIY snake hide from basic to breathtaking.
Forget synthetic stuff – let’s get back to nature!
Dry grasses, hay, pine needles, and even snake skins add authentic textures .
For a rocky look, try tile grout smudged over expanding foam .
Want to go tropical? Coconut fiber creates a jungle vibe.
Just remember, natural doesn’t mean unsafe – always avoid materials with pesticides or harmful residues.
Adhesives and Sealants
Choosing the right adhesives and sealants is really important when you’re putting together your snake hide.
You’ll want products that are:
- Non-toxic when fully cured
- Durable enough to withstand humidity
- Easy to work with for DIY projects
Hot glue guns are great for quick assembly, but for a more permanent solution, consider aquarium-safe silicone caulk .
Just remember, proper curing time is essential before introducing your scaly friend to their new hideout!
Tools for Cutting and Shaping
Now that you’ve got your adhesives ready, let’s grab some tools to shape your snake’s dream home.
A jigsaw’s your best friend for cutting wood , while a soldering iron works wonders on plastic .
Don’t forget safety glasses – your eyes will thank you!
For foam sculpting, a sharp knife and sandpaper are your go-to duo.
Remember, precision is key to creating a cozy, snake-approved hideaway.
Simple DIY Snake Hide Box Techniques
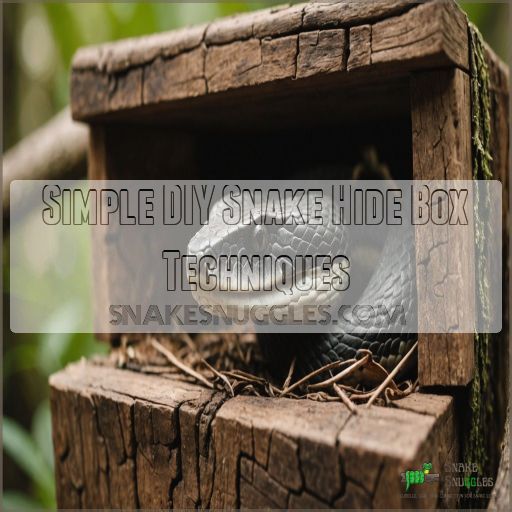
With your materials ready, let’s slither into some simple DIY snake hide techniques.
You’ll be amazed at how easy it’s to create cozy retreats for your scaly friend.
- Cardboard box hides: Cut entrance holes and voila!
- Plastic bowl hides: Flip upside-down and cut an opening
- PVC pipe hides: Saw to length and sand edges smooth
- Soda bottle hides: Cut in half lengthwise for a snug shelter
- Egg carton hides: Perfect for hatchlings and small species
Remember, the key is to make your snake feel safe and secure.
Think of it as creating a five-star hotel for your reptilian roommate.
You don’t need to be a master craftsman – even a simple cardboard box can become a snake’s castle.
Just be sure to avoid sharp edges and use non-toxic materials .
With these techniques, you’ll have your snake living in the lap of luxury in no time!
Creating Natural-Looking DIY Snake Hide Boxes
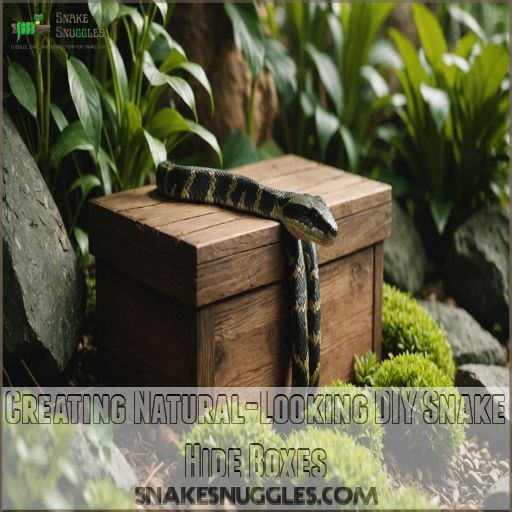
When building a snake enclosure, it’s crucial to include cozy hiding spots and a comfortable temperature gradient, using effective lighting options to mimic natural cycles. You’ll love creating natural-looking DIY snake hide boxes that mimic your reptile’s native habitat.
From rock-like structures made with expanding foam to lush tropical hideaways, these projects let you craft the perfect retreat for your scaly friend while expressing your creativity.
Rock-Like Hides Using Expanding Foam
Three simple steps can transform expanding foam into a rock-like snake hide.
Start by creating a base shape with foam on greaseproof paper .
Once cured, carve your desired form with a sharp knife.
Apply multiple coats of tile grout for texture, then paint with acrylics in varying shades of gray.
Remember, safety first – always let your creation fully air out before introducing it to your scaly friend’s home.
Bark and Wood-Textured Hides
While rock-like hides are great, bark and wood textures can really make your snake feel at home. You’ll be amazed at how realistic these hides can look with a little creativity.
- Use actual tree bark (sterilized, of course)
- Create silicone molds from bark for reusable textures
- Apply wood-grain contact paper for a quick fix
- Paint foam with acrylic paints in wood tones
Remember, the goal is to create a cozy retreat that’ll have your scaly friend thinking they’re back in the wild!
Moss and Plant-Covered Hides
Creating moss and plant-covered hides for your snake can transform a simple box into a lush, miniature ecosystem.
You’ll want to start with a sturdy base, like a plastic container or clay pot .
Then, layer in eco earth or coconut fiber for moisture retention.
Add sphagnum moss for that forest floor feel, and don’t forget to include faux plants for extra coverage and aesthetics .
Remember, humidity control is key – your slithery friend will thank you!
Desert-Themed Hides for Arid Species
Desert dwellers, your slithery friends need a cozy oasis. Craft a hide that’s a sandy sanctuary, perfect for arid species. You’ll want to use materials that mimic their natural habitat and help regulate temperature.
- Use light-colored, heat-reflective surfaces
- Incorporate textured surfaces for grip
- Create multiple levels for thermoregulation
- Make sure there’s proper ventilation to prevent overheating
Remember, your DIY desert hide should be a cool retreat in a hot world!
Tropical-Themed Hides for Rainforest Species
Check out the lush world of tropical-themed hides for your rainforest slitherers!
You’ll want to crank up the humidity and add plenty of ventilation to mimic their natural habitat.
Incorporate live plants, damp substrate, and vibrant colors to create a slice of paradise.
Don’t forget to use non-toxic materials that can withstand high moisture levels (Source).
Your snake will feel right at home in this DIY tropical oasis, ready to explore and shed with ease.
PVC Pipe Snake Hide Box Designs
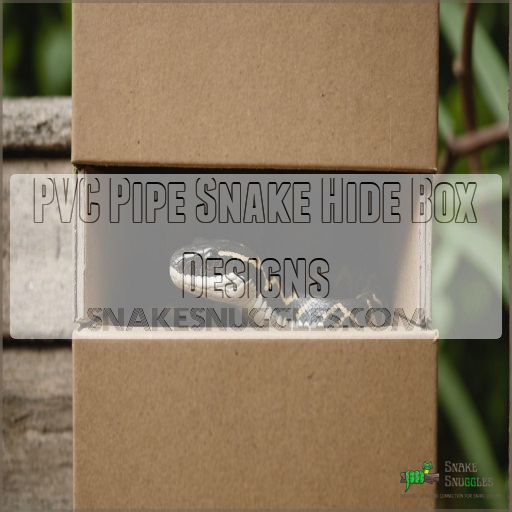
Now that we’ve explored natural-looking hides, let’s slither into PVC pipe designs. These sleek, cylindrical hideaways are a snake’s dream come true! You’ll love how easy they’re to make and how snug your scaly friend will feel inside.
Grab a PVC pipe that’s about 1.5 times your snake’s girth – you want them to feel secure, not cramped . Cut it to length, smooth those edges, and voila! But wait, there’s more. To jazz it up, why not add some "feet" made from smaller PVC pieces? This clever trick elevates the hide and creates a cozy basking spot on top .
Don’t forget ventilation! Drill a few small holes for airflow. And here’s a pro tip: cover the outside with textured spray paint or coconut fiber for a natural look. Your snake will be hiss-terically happy with their new hideout!
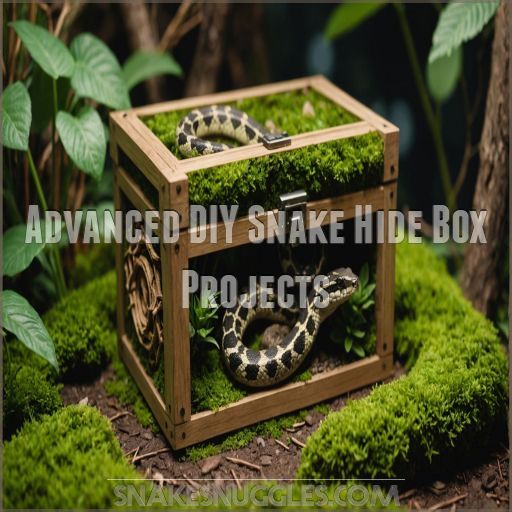
Advanced DIY Snake Hide Box Projects
Ready to take your snake hide-making skills to the next level?
In this section, we’ll explore advanced DIY snake hide box projects that’ll challenge your creativity and provide your scaly friend with excellent, custom-tailored hideaways.
Molded Reptile Hides Using Insulated Foam
While insulated foam might seem like an unconventional choice, it’s actually a fantastic material for creating molded reptile hides.
You’ll love how easy it’s to shape and customize.
Start by carving your desired form, then apply multiple coats of grout for a rock-like texture .
Don’t forget to seal it with polyurethane for durability.
Just remember to let it air out for a week before introducing it to your scaly friend.
Custom-Shaped Hides With Spray Foam
Occasionally, you’ll want to create a truly unique hide for your snake.
Spray foam offers incredible versatility for custom-shaped designs .
You’ll start by creating a base form with styrofoam or a pet bowl .
Then, get creative with expanding foam, carving it into rocky outcrops or hollow logs.
Remember to seal the foam with tile grout and non-toxic paint for a durable, reptile-safe finish.
Multi-Chamber Snake Hide Boxes
Moving beyond simple shapes, let’s explore multi-chamber snake hide boxes.
These advanced designs offer your slithery friend a labyrinth of cozy nooks.
You’ll create a snake paradise with interconnected rooms, perfect for exploration and security.
Think of it as a reptilian mansion!
Use PVC pipes or wooden planks to craft a network of chambers.
Remember, proper ventilation is key .
Your snake will thank you for the extra space to stretch out and feel safe.
Thermoregulation-Friendly Hide Designs
After mastering multi-chamber hides, let’s heat things up with thermoregulation-friendly designs.
Your snake’s comfort is key, so create a hide that’s cool as a cucumber on one side and toasty on the other.
Use materials like ceramic or stone to retain heat, and incorporate ventilation holes for airflow.
Place heat sources strategically, and experiment with different substrates to fine-tune temperature gradients.
Your slithery friend will thank you for this cozy, temp-controlled retreat!
Humidity-Controlled Snake Hide Boxes
While temperature’s important, humidity is equally key for many snake species.
Let’s explore how to create humidity-controlled hide boxes that’ll keep your slithery friend comfy and healthy.
- A plastic container with a tight-fitting lid
- Coco fiber substrate (ditch the sphagnum moss!)
- Small ventilation holes
- A hygrometer
By using coco fiber instead of moss, you’ll avoid potential health risks like pulmonary sporotrichosis.
Plus, it’s easier to maintain the perfect moisture level for your scaly buddy.
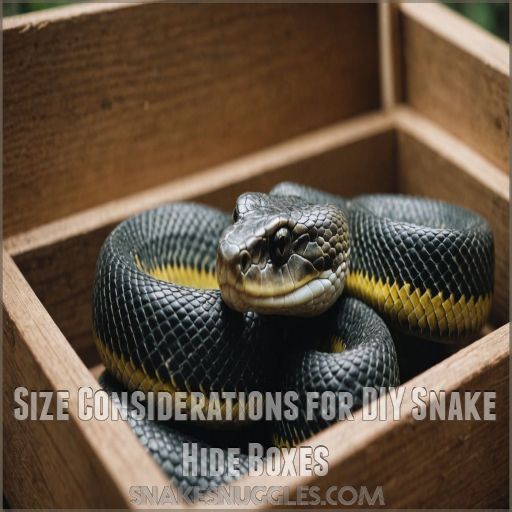
Size Considerations for DIY Snake Hide Boxes
With DIY snake hide boxes, size matters just as much as design.
You’ll need to tailor your hide’s dimensions to your snake’s specific needs.
Ensuring it’s snug enough to feel secure but roomy enough for comfort.
Hides for Small Snake Species
For small snake species, size matters.
You’ll want to create a snug, secure space that makes your slithery friend feel safe.
Let’s break down some hide options for your tiny terror:
| Snake Size | Hide Dimensions | Material Ideas |
|---|---|---|
| Hatchling | 5.5"x3"x1.5" | Cardboard tube |
| Juvenile | 5.5"x4"x2.125" | Plastic cup |
| Small Adult | 10"x7"x2.25" | PVC pipe |
Remember, a tight fit is better than a loose one .
Your snake should feel the hide surrounding them, like a cozy reptile hug!
Medium-Sized Snake Hide Box Dimensions
For medium-sized snake hide boxes, one size doesn’t fit all.
For most adult colubrids and juvenile to sub-adult pythons and boas, aim for dimensions around 10"x7"x2.25" (Source).
These snug sanctuaries fit nicely in 28-32 qt tubs, giving your scaly friend the perfect hideaway.
Remember, a cozy hide reduces stress and promotes a sense of security. It’s like giving your snake its own personal fortress!
Large Snake Hide Box Requirements
When it comes to large snake hide boxes, size matters! You’ll need to think about your scaly friend’s dimensions and preferences. Here are some key requirements:
- Space: Aim for at least 16.25" x 11" x 4.5" for adult ball pythons or medium boas
- Ventilation: Make sure there’s proper airflow without compromising security
- Materials: Opt for durable, easy-to-clean ABS plastic
- Security: Choose an offset door design for a snug, safe feeling
Remember, a well-fitted hide is like a cozy blanket fort for your serpentine buddy!
Adjustable and Modular Hide Designs
With large snake hides covered, let’s move into modular hide designs. These clever systems offer flexibility for your growing reptiles. Imagine them as a reptile’s Lego set, ready for endless configurations.
| Feature | Benefit | Example Use |
|---|---|---|
| Stackable hide units | Space saving | Small enclosures |
| Expansion hide options | Adaptable environments | Growing snakes |
| Customizable modules | Setups suited for specific needs | Personalized snake habitats |
| Modular upgrades | Enhanced comfort | Seasonal changes |
Craft your own snake paradise with these adjustable designs!
Multiple Hide Options for Various Life Stages
You’ve got your hatchling sorted, now let’s focus on other stages.
For juvenile sizes, make sure the snake hide is cozy but not cramped.
Adults crave room for shedding hides and areas for breeding.
Choose versatile snake hides:
- Small hide for hatchlings.
- Medium for juveniles.
- Large, expandable for adults.
- Multi-chamber for shedding.
Balance privacy with reptile education! .
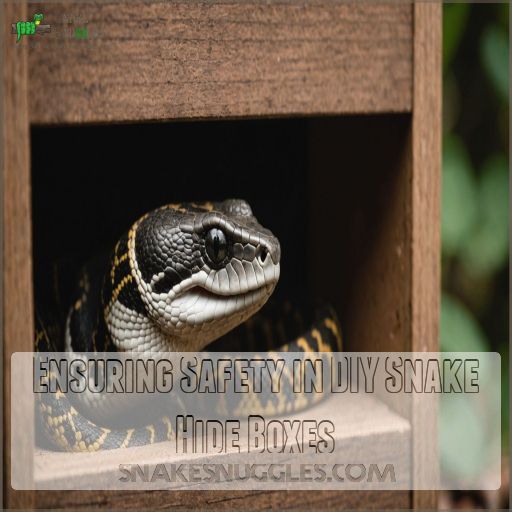
Ensuring Safety in DIY Snake Hide Boxes
When building DIY snake hide boxes, safety is paramount.
Use non-toxic materials.
Make sure there’s proper ventilation.
Avoid sharp edges or loose parts – your scaly friend’s wellbeing depends on it!
Non-Toxic Materials for Snake Hides
While selecting paint for your DIY snake hide, focus on safety.
Choose water-based, non-toxic acrylic paints that won’t harm your reptile buddy.
Try material testing methods on a small surface first, like using store-bought paper clay, which is considered safe when dry .
It’s like giving your snake a cozy and healthy home makeover—a smooth, worry-free ride!
Proper Ventilation in Snake Hide Boxes
To keep your snake hide fresh and mold-free, think of ventilation as your snake’s personal fresh air!
Consider these ventilation types:
- Venting on Opposite Sides: Provides great airflow.
- Escape-Proof Holes: Keep ’em small and numerous.
- Pre-made Vents: Easy peasy!
- Humidity Control: Balance it perfectly.
- Material Impact: Drill carefully !
Your snake will thank you with a happy slither!
Avoiding Sharp Edges and Loose Parts
Before creating your snake’s cozy hide, make sure safety by sanding edges and selecting materials wisely.
Picture yourself in their place—a soft landing beats sharp surprises any day!
Conduct thorough safety checks and secure fasteners.
Remember, testing your project can make all the difference between a snug retreat and a hazardous haunt.
Hot glue those edges for extra peace of mind!
Cleaning and Disinfecting DIY Hides
How often should you clean and disinfect your snake’s hide to keep it safe and happy?
Consider using reptile-friendly disinfectants and cleaning methods.
A trusty bleach solution—diluted, of course—can work wonders for hide sterilization.
Forum insiders recommend a monthly ritual for DIY hide sanitation, joining the snake hide community for tips and tricks.
After all, we all want peace of mind.
Monitoring for Wear and Tear
Cleaning’s important, but keeping an eye on wear and tear keeps your snake hide safe and sound. Here’s how:
- Regular Inspections: Give the hide a weekly check-up for signs of deterioration.
- Repairing Damage: Spot a crack? Patch it up before it turns into the Grand Canyon.
- Replacement Schedule: When material durability fades, swap the hide like a seasoned pro.
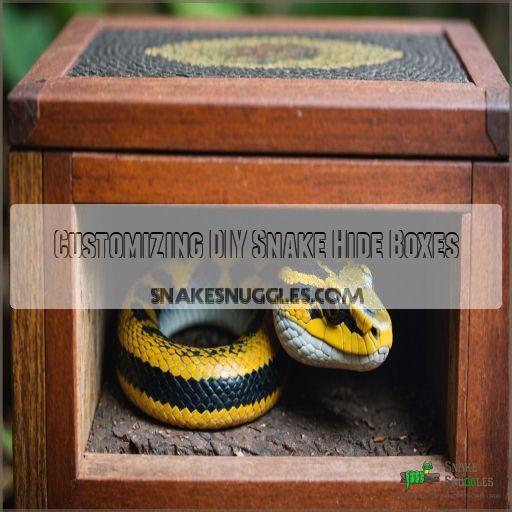
Customizing DIY Snake Hide Boxes
When customizing DIY snake hide boxes, think about your snake’s unique needs and get creative with design elements.
Climbing features for an adventurous arboreal species or cozy substrate pockets for burrowers can be incorporated to make each hide a perfect fit.
Species-Specific Hide Box Features
When designing DIY hide boxes, consider the unique needs of your snake species.
Tailor the hide’s size, shape, and placement to match your snake’s natural behaviors and habitat preferences.
For burrowing snakes, incorporate substrate pockets and tunnels.
Aquatic species may benefit from partially submerged hides.
Venomous snakes and large constrictors require extra security features.
| Species | Key Hide Features |
|---|---|
| Burrowing | Substrate pockets, tunnels |
| Arboreal | Elevated, branching supports |
| Aquatic | Partially submerged, waterproof |
| Venomous | Secure, escape-proof |
| Constrictors | Spacious, reinforced |
Incorporating Climbing Elements for Arboreal Snakes
Give your arboreal snake a jungle gym paradise by creatively placing branches and climbing elements.
Use sturdy, sterilized wood or safe, commercial climbing materials, ensuring they’re secure and snag-free.
Enclosure design should focus on safety considerations; think like an adventurous snake without the risk.
With proper DIY instructions, you’ll have a happy, climbing snake exploring its new lofty territory .
Adding Substrate Pockets for Burrowing Species
Creating substrate pockets for burrowing snakes is a breeze.
For perfectly cozy burrows, consider:
- Soft, loose materials like aspen shavings or coco husk .
- Pocket size: snug but spacious.
- Depth: deep enough for full digs.
- Placement: corners or under hides.
- Avoidance of dampness prevents mold.
Make these pockets, and watch your snake dig happily away!
Decorative Techniques for Naturalistic Appearance
Sprinkle a little artistry into your snake’s hide by focusing on decorative techniques.
Realistic textures and camouflage patterns give your hides an enchanting look, blending seamlessly with enclosure materials.
Use natural elements, like bark or moss, for authenticity.
Add 3D details for depth, and experiment with color blending.
Who knew creating a snake hide could be so much fun?
Integrating Hides With Existing Enclosure Decor
Blending hide boxes with enclosure decor is like a dance – it’s all about balance.
Match colors and textures to your theme, whether rainforest or desert.
Use natural textures and camouflage techniques to disguise hides seamlessly.
Consider placement to complement temperature zones, ensuring safety and comfort for your snake.
After all, a well-integrated hide is a happy reptile’s retreat.
Budget-Friendly DIY Snake Hide Box Ideas
Transform your old household items and low-cost materials into cozy snake hide boxes that won’t break the bank.
With some creativity and resourcefulness, you’ll have your reptile snug and happy in custom hides that are as economical as they’re effective!
Repurposing Household Items for Snake Hides
You’ve mastered customizing snake hide boxes, so let’s get creative with household items.
Think outside the box—literally! Egg cartons become cozy snake retreats, while old tupperware transforms into secure hideaways.
Repurposing tips save you money and make your snake’s environment unique.
Remember, safety first: avoid sharp edges and make sure there’s good ventilation.
Your snake will slither in style on a DIY budget!
Low-Cost Materials for Effective Hides
Crafting effective snake hides doesn’t have to break the bank.
Repurposed household items like plastic containers, cardboard boxes, and even tissue boxes can make surprisingly functional and budget-friendly hides.
The key is finding materials you’re willing to modify that provide the right size and texture for your slithery friend.
Get creative – your snake will appreciate the personalized touch!
Bulk Material Options for Multiple Hides
While saving costs on materials, think wholesale.
Bulk buying through reptile community resources or reputable wholesale vendors makes sure you’ve got your storage sorted.
Picture it: a toolbox of options ready to craft those perfect hideouts.
It’s a win-win—yours for mastering the art, and your snakes for feeling snug and secure .
Upcycling Old Enclosure Items Into Hides
When repurposing old decorations for snake hides, think outside the box—literally!
Plastic containers or fabric scraps become cozy retreats, often better than store-bought versions.
Even old toys can double as vibrant hideouts.
Upcycled branches add natural charm and control to your habitat, ensuring safety while injecting character and affordability into your project.
Embrace creativity and save some bucks!
DIY Hide Box Kits Vs. Individual Materials
Transforming old enclosure items into hides is a fun adventure, but sometimes it’s easier to grab a DIY hide box kit.
These kits offer convenience and variety, saving you time compared to sourcing individual materials.
Customization might take a hit, yet the quality often matches your crafty skills.
Choose based on cost and preference—after all, variety is the spice of life!
Placement Strategies for DIY Snake Hide Boxes
Placing your DIY snake hide box in the right spot can keep your slithery friend comfortable and happy, just like choosing the coziest chair in your living room.
By balancing privacy and accessibility, you can create a snake paradise that offers both cool retreats and sunny basking spots, ensuring your snake gets the perfect mix of lounge zones all year round.
Optimal Hide Locations in Snake Enclosures
You’ve crafted budget-friendly DIY snake hide boxes, but where should they go for the best placement?
Prioritize your snake’s comfort and safety with these tips:
- Basking Zones: Place hides near basking spots for warmth.
- Varied Enclosure Size: Adjust hide location to fit big or small spaces.
- Snake Behavior: Make sure your pet has easy access for natural behavior.
Remember, a cozy snake is a happy snake!
Creating Temperature Gradients With Hide Placement
Placing hides strategically across your snake’s enclosure isn’t just feng shui for reptiles.
By positioning various hide types near heat lamps and cooler areas, you mimic a natural thermal gradient, letting your slithery friend choose their perfect temperature.
Use substrate choices wisely—thick layers for insulation or thin for heat transfer—creating cozy basking spots where your snake can feel like the king or queen of the wild .
Balancing Privacy and Accessibility in Hides
How do you strike the right balance between privacy and accessibility when placing DIY snake hide boxes?
The key is to offer multiple hide options with varying degrees of seclusion.
Closed-off hides provide security, while open-fronted designs allow for easy monitoring and exploration.
Strategically position hides throughout the enclosure to cater to your snake’s individual preferences.
Incorporating Hides Into Basking Areas
Balancing privacy with warmth is key when incorporating hides into basking areas. Make it a cozy retreat where your snake can enjoy a sauna-like bask without feeling exposed.
Consider these tips:
- Use natural stone for radiant heat .
- Position hides near, but not directly under, heat sources .
- Make sure hide size allows comfortable basking.
- Experiment with hide types for perfect temperature control.
Seasonal Adjustments for Hide Box Placement
Hide box placement can feel like a never-ending game of hide and seek with seasonal cycles.
When winter rolls in, snuggle hides near heat sources for extra basking warmth and comfort.
As temperatures climb, shift them to cooler spots.
And hey, think of your snake’s humid hide like a spa day for them—everyone loves a good pampering!
| Season | Hide Placement | Key Focus |
|---|---|---|
| Winter | Close to heat sources | Basking warmth |
| Summer | Cooler areas | Temperature gradient |
| All Seasons | Access to humid hides | Humidity control |
Frequently Asked Questions (FAQs)
How do you hide a snake in a cardboard box?
Craft a camouflaged cardboard cover for your snake by cutting cozy caves from small boxes or microwave meal containers.
These snug shelters offer security and simplicity, keeping your slithery sidekick soothed and comfortable .
How to make a giant snake hide?
Transform an old cabinet into a giant snake hide by sealing seams with non-toxic silicone for moisture protection.
Add sliding glass doors for easy access.
Spruce up with vinyl flooring for a stylish, durable finish .
How do you make a snake hide for a pet snake?
Crafting the perfect snake hideaway is a breeze!
Grab some sturdy foam, a touch of grout, and a dash of creativity.
Layer it up, add some texture, and voila – your scaly friend’s new cozy retreat is ready to go.
How long does it take to make a snake hide?
Building a snake hide typically takes an hour or two, depending on materials and design complexity.
With simple tools, like a jigsaw for wooden hides or basic containers, you’ll create a cozy, secure snake retreat .
Are polymer clay hides safe for reptiles?
Polymer clay may pose risks when it heats up, potentially releasing harmful fumes—particularly problematic in reptile habitats.
Instead, opt for pet-safe materials like acrylic paints or UV-set resins for safe, stylish reptile retreats .
How to seal DIY snake hides effectively?
Use thick grout for a rugged finish.
Then seal with clear satin polyurethane for durability and a natural look.
Apply three coats, letting each dry overnight, and allow a week to air out before use .
What are the best tools for shaping hides?
Did you know 76% of woodworkers prefer serrated knives for intricate shaping? .
You’ll love using retractable knives for tight spots.
Pair them with sandpaper for smoothing, and feel like a pro at creating safe, custom reptile hides.
Can tile pointing be used for snake hides?
Tile pointing can indeed be a practical choice for crafting snake hides.
It’s flexible, non-toxic, and creates a rocky texture, giving your snake a cozy and natural-looking home .
Just make sure the bonding is done properly to prevent accidents.
How to add natural features to hide boxes?
Think of a hide box as a cozy cabin for your snake.
You can add real wood and plants, ensuring they’re clean and non-toxic, to create a natural, inviting environment for your reptile friend.
Conclusion
Coincidentally, as you start your DIY snake hide box journey, remember that the key lies in balancing style and safety.
With a touch of creativity, you can design DIY snake hide boxes that are both visually appealing and reptile-friendly.
Craft cozy retreats using everyday materials like cardboard, foam, and natural elements .
Prioritize non-toxic adhesives, smooth edges, and proper ventilation to make sure your slithery friends feel right at home.

